AdBlock Detected!
Our website is made possible by displaying ads to our visitors. Please supporting us by whitelisting our website.
Our website is made possible by displaying ads to our visitors. Please supporting us by whitelisting our website.
Date: Oct 10, 2022
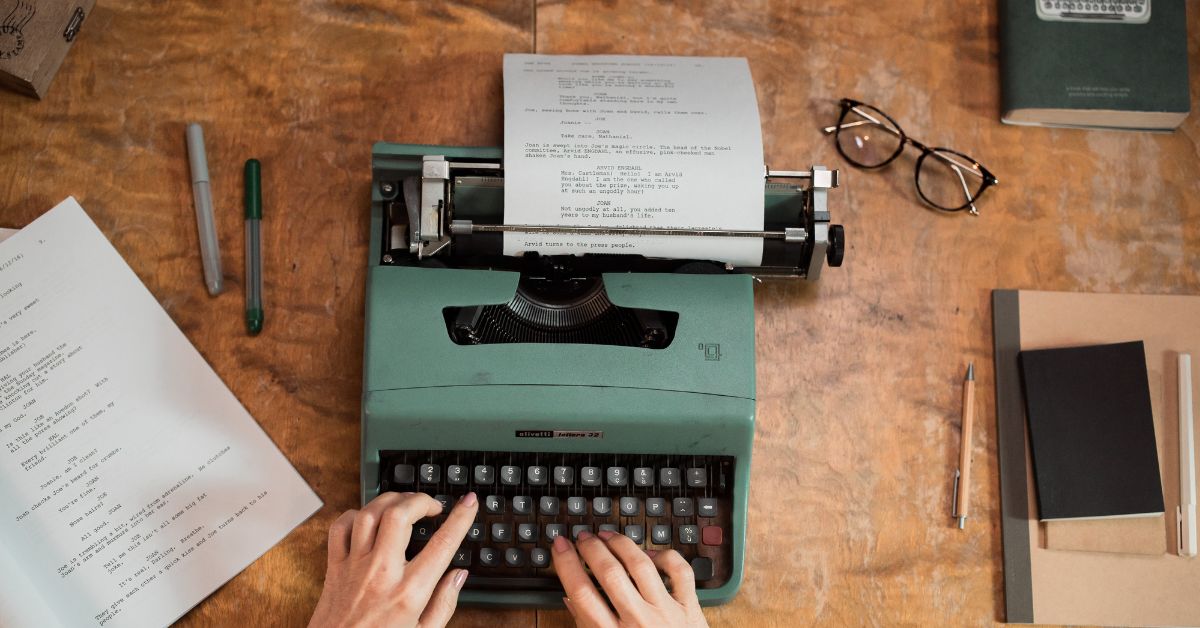
In a very distracted world, it is a privilege sometimes to escape the noise and clutter and be present at the moment, with no phones buzzing or email pop-ups. A silent and undistracted workspace is an ideal work setup for many writers, but some are more productive in coffee shops. But one thing is undoubtedly true; writing requires focus.
Typewriters are popular with many authors because it allows them to work without distraction. But using a typewriter can be overwhelming at first because of its many parts; this post will guide you on how to use a typewriter step by step.
When you buy a new gadget, you first inspect the parts or read the user's manual so that you won't risk destroying your new toy. The same is true with typewriters, especially since it consists of many parts! Each brand and model of a typewriter would have different parts. For example, some models have a ribbon color (text color) selector- red, black, or stencil.
Vintage typewriters are mostly non-electric and work by the force you exert when you hit a key that will cause the corresponding key bar to eject and 'stamp' on the paper. If you are familiar with how a stamp works, imagine each key would be a stamp. Only the stamp pads are the ribbons in which the ink is loaded. You will understand this better by looking at some parts of a mechanical typewriter.
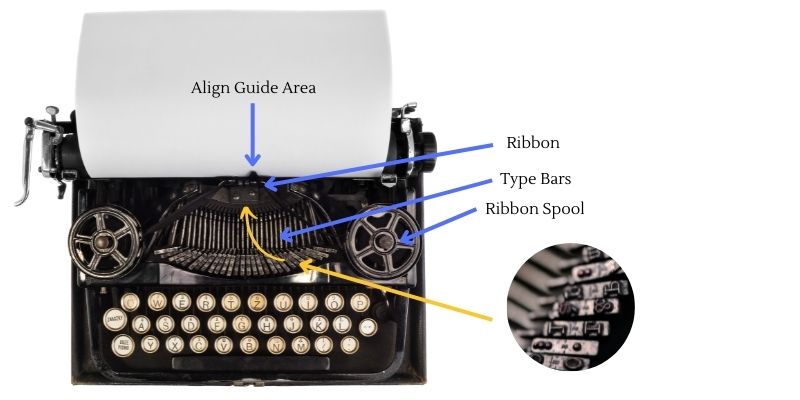
A vintage typewriter with some parts labeled (align guide, ribbon, ribbon spools, type bars)
The keys of a typewriter do not have as many as we have with our laptops or modern keyboards, although the layout is the same (QWERTY). The Type Bars are attached to a corresponding key through metal arms. When you strike a key, an imprint on the paper will be made because the type bar hits the ribbon with ink on the Align Guide area (see yellow arrows in the photo above). That is how characters are imprinted on papers using a typewriter.
For more detailed anatomy of a typewriter, check the photo below. The photo will also guide you as we will talk about the step-by-step guide on how to use a typewriter.
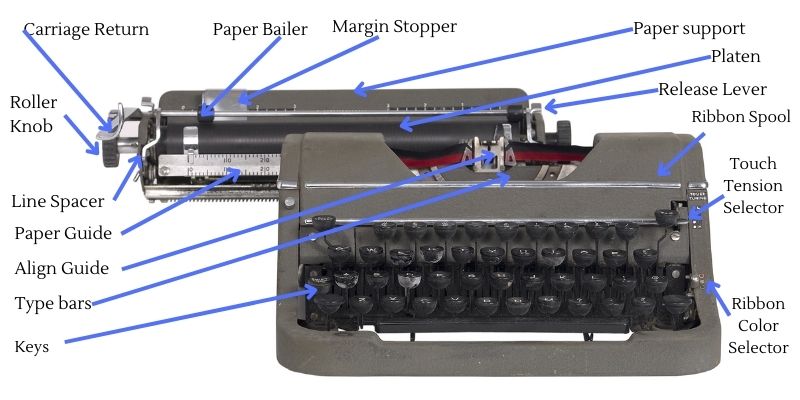
A typewriter with basic parts labeled
Now that we have covered how a typewriter works and are now familiar with a few of its parts, we can then talk about how to use it.
You will need to find a flat surface on which to place your typewriter. It is important that the surface is level, as this will prevent the typewriter from wobbling when you type. Once you have found a suitable spot, set the typewriter down and make sure that it is positioned so that you can comfortably reach the keys; make sure you have a proper typing posture to avoid back pain and wrist injuries.
There are typewriters with carriage locks. This is common among typewriters designed for traveling. This prevents the carriage from moving. When purchasing your typewriter, there is a great chance that you will receive it with the carriage locked, and you might think that the machine is not working. Just pop the switch to unlock it.
Handling ribbons might be messy because it contains ink; you can wear gloves when handling them. You will need to check it and ensure that the ribbons are threaded securely through the ribbon guide. This way, it would not be loosened and folded into bundles when you are typing. Check if your ribbon color selector is on your desired color. If you do not see any prints when you type, it might be on the “stencil” color mode.
A reverse spool will also turn the ribbon to its other side so that you can switch to the side with more ink when the ink's color seems lighter. A common beginner mistake is not using up all the ink on the ribbon and replacing it altogether; that is a waste you can now avoid.
The paper stops when you are typing where you positioned the margin stopper. To adjust this, some models require you to squeeze it to unlock it so you can move it to your desired margin. This is especially useful when typing on a smaller size of paper or when you are typing on envelopes.
In modern mechanical keyboards, tension is the actuation force you use when typing with a particular keyboard switch. This has the same principle. You can adjust the tension you put when striking the keys. If you have joint problems, then choose the lesser tension.
It is interesting to note that just like when typing on an MS Microsoft Word, you can also set the spacing as you like. Writers often use double space, so there is a space available for an editor to comment on.
Raise the paper bailer, then insert the paper into the platen. Use the roller knob to advance the paper. When using a letterhead, feed it upside down, and the logo/letterhead should not be facing you. This way, when you roll the knob, you will get the right side of the paper. Bring back the paper bailer so that it will secure your paper as you type. Adjust the margins as necessary.
There are a few things to remember when typing. The carriage return lever serves as your “enter” key. It allows you to start a new line, while the return lever allows you to go back to one line. There is also a backspace key to type over an incorrect key input. The shit key functions the same way as our modern keyboard. A particular key locks the shift key so you can type in all caps (capslock). There is also a tab key for you to indent your paragraphs. The key labeled as MR is the Margin Stop. A margin stop enables a typist to type past the margin stop that you initially might have set. You also notice that in some older models of typewriters, the number 1 key is missing. In replacement of this, you can type a letter in ‘L’ in lowercase.
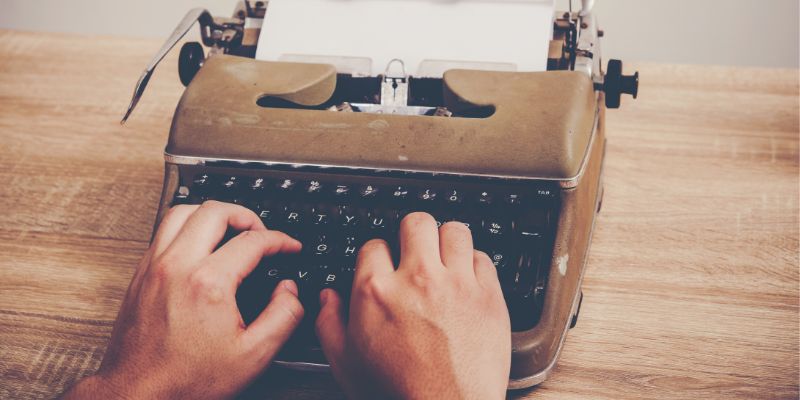
Hands typing on an old typewriter
Once you finish typing, you can turn the knob roller to advance the paper until it is totally removed from the carriage.
Typewriters are pretty pricey, especially vintage ones! It will be wise to maintain them by cleaning them regularly. Use a gentle cleanser and wipe the dust off that may have built up. Make sure to dry your machine well. You can also use a brush or a vacuum cleaner to remove dust particles. A brush would work well when cleaning the type bars. Use typewriter oil to lubricate the moving parts for a smoother typing experience. Keep your typewriter covered when not in use.
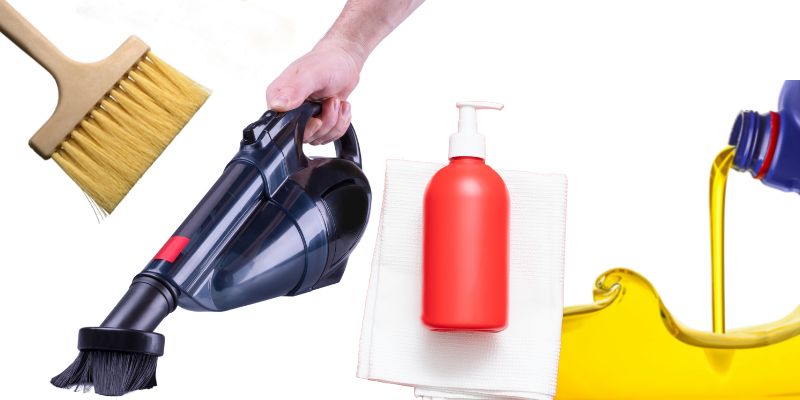
Tools/ supplies for cleaning a typewriter
Now that you are familiar with the parts, the steps on how to use a typewriter, and some cleaning tips, you can now begin using or trying out a typewriter and feel that sense of nostalgia. Share any insights or questions you have about typewriters in the comment section.